You’ve got a set of Shimano brakes that just refuse to bed in, huh? Been there, done that, got the frustration to prove it! Seriously, there’s nothing worse than putting in all that work and still feeling like your brakes are made of soggy marshmallows when you go to stop. The good news is, this can usually be sorted out without too much fuss—if you follow a process. I’ll walk you through what worked for me, step by step, and yeah, it took some trial and error, but that’s the fun (well, eventually) of working on bikes, right?
Why Shimano Brakes Didn’t Bed In: Quick Thoughts
Before diving into the fix, let’s talk about why your Shimano brake did not beding in the first place. Bedding in, essentially, is creating a proper transfer layer of brake pad material onto the rotor. This ensures firm, predictable braking. If something’s gone wrong, it’s either because the pads or rotors were contaminated, installed incorrectly, or just haven’t been properly broken in. The problem could even be a combination of these. Don’t worry, though—we’ll tackle it all.
Step 1: Check If Your Brake Pads or Rotor Are Contaminated
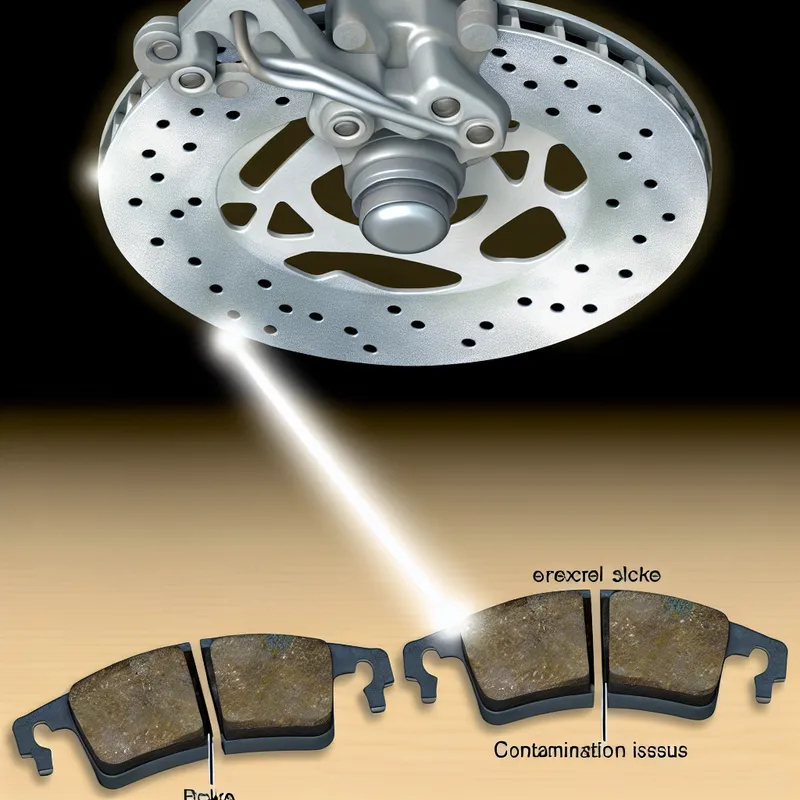
Contamination is public enemy number one for brakes that won’t bed in. Yep, even a tiny dab of chain lube, grease, or oil on the rotor or pads can screw everything up. Trust me, I learned this the hard way when I cleaned my bike with a “multi-purpose degreaser” to look fancy. Guess what? Degreaser and your brakes are mortal enemies.
- How to Spot Contamination: Does the rotor look super shiny or have streaks on it? Do the brake pads smell a bit burnt or just don’t seem grippy at all? Those are big red flags.

- Fix It: First, don’t panic. If you suspect your rotor and/or pads are contaminated, remove them. For the rotor, clean it thoroughly with isopropyl alcohol (at least 90%—not that watered-down stuff). And for the pads? If they’re just lightly contaminated, you can try sanding the surface lightly with sandpaper (I used 120-grit sandpaper). If they’re super saturated, though…it’s time for new pads. I know, not what you wanted to hear, but brakes are kinda important.
Step 2: Make Sure Your Pads and Rotor Match
Believe it or not, mismatched rotors and pads can cause big problems when bedding in. Shimano makes organic and metallic brake pads, and not all rotors are designed to handle both types equally. For example, some Shimano rotors (like the Ice-Tech ones) tend to work best with metallic pads due to heat dissipation.
Step 3: Properly Align and Install the Brakes
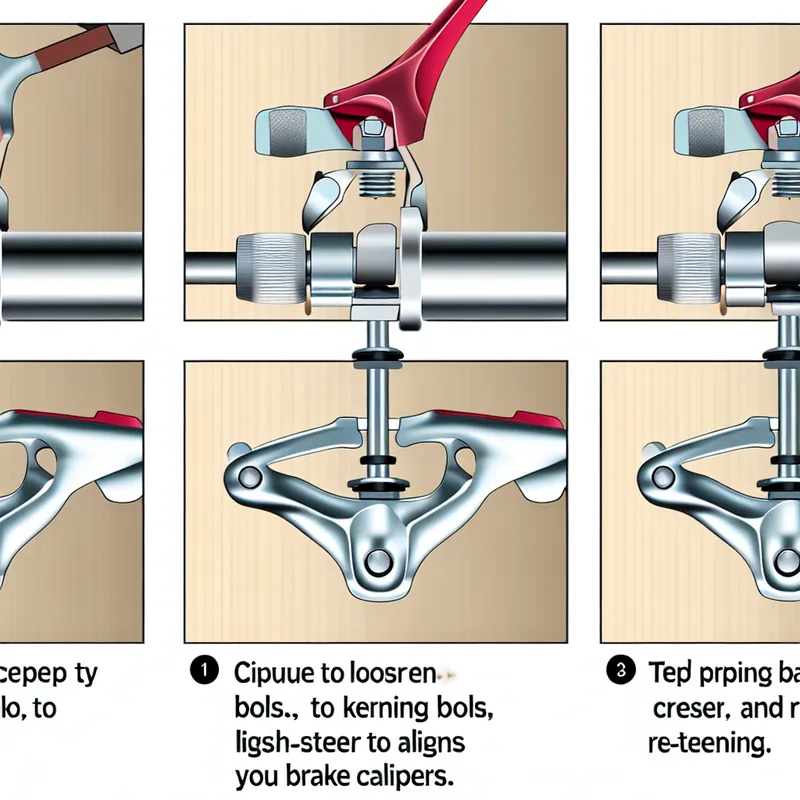
Okay, I’ll admit—alignment isn’t the first thing that comes to mind when you’re trying to figure out why your Shimano brake did not beding in. But hear me out: If the pads aren’t making full, even contact with the rotor, the bedding-in process won’t work like it’s supposed to. Been there, done that.
- How to Align the Brakes: Most Shimano brakes have a simple alignment trick. Loosen the caliper bolts just a little. Then squeeze the brake lever and hold it down while you tighten the bolts back up. This centers the brake caliper automatically over the rotor. It’s like magic when it works.

Step 4: Perform a Proper Bedding-In Process
Ah, the actual bedding-in part. This step is key, but it’s also one of the most skipped-over processes. I know I kind of rushed through it the first couple of times and just assumed, “Eh, they’ll sort themselves out eventually.” Nope.
- How to Do It Right: Here’s what worked for me:
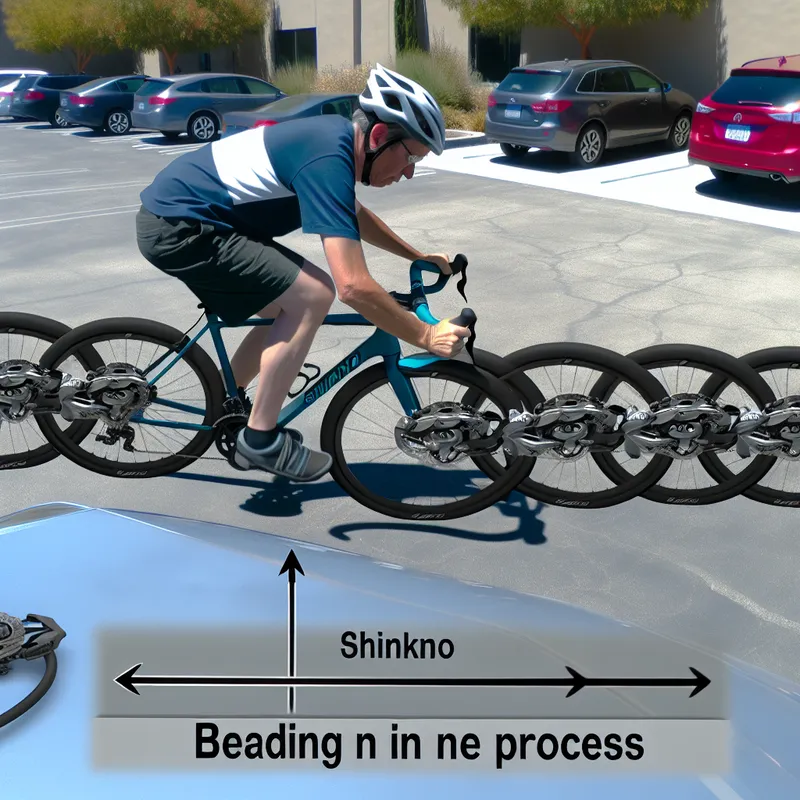
- Find an open, safe area where you can ride in a straight line (a parking lot works great).
- Pedal up to about 12-15 mph (fast enough to build momentum but not wild).
- Gently squeeze the brake lever and let the bike slow down without fully stopping. This is important—you’re not emergency braking here, just dragging the pads lightly on the rotor to build up that nice transfer layer.
- Repeat this process 20-30 times. It takes some patience, but if you do it right, you’ll start to feel the brake power increase as the pads and rotor “marry.”

Pro Tip: Try not to overheat the system while bedding in—if things get too hot, you could glaze the pads, and then you’re back to square one.
Step 5: Look Out for Glazing or Improper Wear
Even if you’ve done everything right, glazed brake pads (essentially, when the pad material overheats and hardens without transferring properly) could still be your issue. You’ll know it’s a problem if the brakes feel squeaky or grabby but with little actual stopping power.
- The Fix: Get the bike back in the stand and lightly sand both the pads and the rotor (again, 120-grit sandpaper works). Wipe down with isopropyl alcohol afterward and start the bedding-in process over.
What’s Next? A Few Final Thoughts
By now, you’re probably itching to get those brakes behaving properly, and I hope these steps help you finally nail it. If, after all this, nothing seems to work, it might be worth re-bleeding the brakes or checking if your caliper pistons are sticking. Shimano brakes are great, but like any system, they need regular care and attention.
Let me know how it goes! Did any of these tips work? Or do you have another trick up your sleeve?
