Ugh, winter photos. They look so dreamy and majestic while you’re out there freezing your fingers off snapping pictures in fresh snow. But then you get home, upload them, and… well, they look kind of blah. Dull. Washed out. A little too “blue” and lifeless, right? I get it—this used to happen to me all the time, and learning how to fix cold photos taken in winter felt like a frustrating mystery at first. The good news? It’s totally fixable, and I promise you don’t need to be some Photoshop wizard to make it happen.
Let’s dive into a few simple editing tips and tricks that will instantly warm up your photos and make them look as magical as winter truly feels (before your toes go completely numb). And hey, some of these techniques are so quick, you’ll wish you’d known them ages ago.
Why Do Winter Photos Look So Cold?
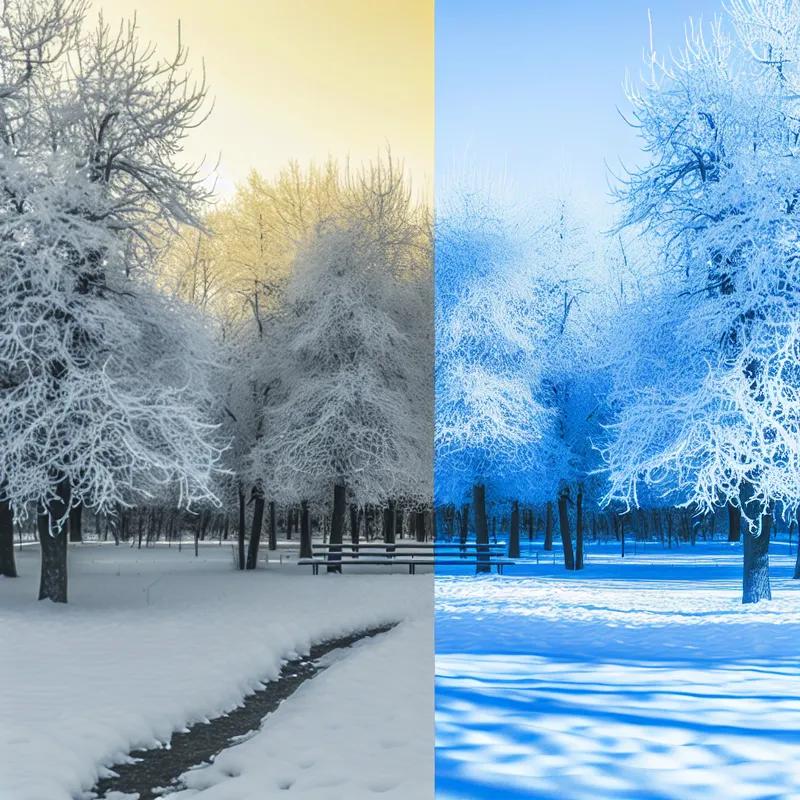
First off, let’s take a second to talk about why winter photos tend to look, well, cold. Snow is super reflective, which makes it mess with your camera’s white balance. The camera sees all that bright white, freaks out a little, and adds a blue or gray tint to compensate. The result? Your warm, cozy sweater photos look like they were taken on another planet with an icy filter. Plus, the outdoor light in winter is usually softer and bluer, especially if it’s cloudy. Combine that with muted colors in your surroundings, and your photos are bound to lack that punch.
So what can we do to fix this? Let’s talk solutions.
Step 1: Adjust White Balance (The Secret Sauce)
When it comes to how to fix cold photos taken in winter, white balance is your best friend. Seriously, this single adjustment can work wonders. White balance is all about tempering the colors in your photo to make whites actually look white (instead of frosty blue or muddy gray).
If you’re shooting in RAW—which, trust me, you should absolutely be doing—it’s insanely easy to tweak this in editing software like Lightroom or Photoshop. Didn’t shoot in RAW? No judgment! Most cameras and even phone apps like Snapseed give you some wiggle room to adjust white balance after the fact.
How I’d do it:
When editing, look for a slider labeled “temperature” or “WB.” Drag it slightly toward the warmer side (usually that’s “yellow”), and you’ll immediately notice the difference. You can eyeball it, or even better, use a white or neutral object in your photo as a reference point to properly balance the colors. There’s no need to overdo it—just enough to take the chill off.

Step 2: Fix Dull Colors by Playing with Saturation
Another big issue with winter photos is the muted color palette. Everything seems so… bleh, you know? Snow reflects everything around it, but not always in a flattering way. To bring your photo back to life, try boosting the saturation or vibrance.
Here’s a quick breakdown:
- Saturation globally amps up all the colors at once.
- Vibrance, on the other hand, focuses on muted colors without overpowering already-bright areas. (Honestly, vibrance is like the chill cousin of saturation.)
When I want to keep things subtle, I’ll nudge vibrance up first to avoid making the photo look like the Snowpocalypse collided with a clown parade. The goal is to give life to the reds, yellows, and greens that probably got drowned out in all that reflective winter light.

Step 3: Tinker with Contrast and Exposure
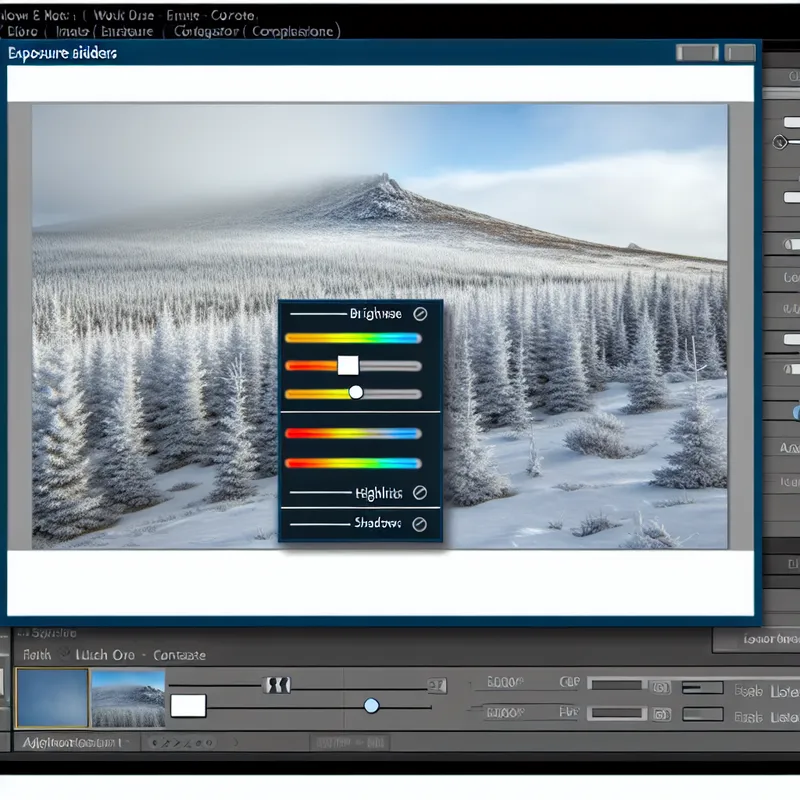
If your snowy photos look flat or lifeless (don’t worry, mine do too sometimes), it could mean the contrast or exposure needs some love. Snow can really confuse your camera’s metering system, leaving your photo either underexposed (too dark) or overexposed (bright white blobs of nothing).
For underexposed shots: Bring up the exposure slider gently until the details pop. Then adjust the contrast slider to help separate subtle textures in the snow. You’ll thank yourself when you rediscover branches, footprints, or shadows that were lost in all that white glow.
For overexposed shots: Pull back the highlights first to recover detail (remember, RAW files help a ton with this), and layer on a little contrast for drama.
One extra tip? Boost the blacks and shadows ever so slightly so your darker areas don’t look heavy or dull against a bright snowy background. It’s one of those tiny tweaks that makes all the difference.

Step 4: Add a Touch of Warmth with Presets or Filters
Okay, confession time: Sometimes I don’t feel like spending forever editing, so I’ll just slap on a warm-toned filter or preset to save time. Don’t judge me—it works!
If you’re in Lightroom, you can download a bunch of free or paid presets specifically designed for winter photos. Look for ones labeled “warm winter” or something festive like that. (Trust me, nothing’s stopping you from making your holiday pictures look like they came out of a Hallmark movie.) For apps like Instagram or Snapseed, lean toward filters with golden or earthy tones and steer clear of the overly cool ones.
Step 5: Don’t Forget to Sharpen
It seems small, but sharpening can make a huge difference—especially when snow is involved. Snow is naturally textured and sparkling, so you want to highlight that crisp detail instead of leaving everything looking soft and mushy. Most editing software has a sharpening tool. Just be careful not to go overboard and make your photo look fake. Been there, done that, not cute.
Bonus Tip: Use Weather to Your Advantage
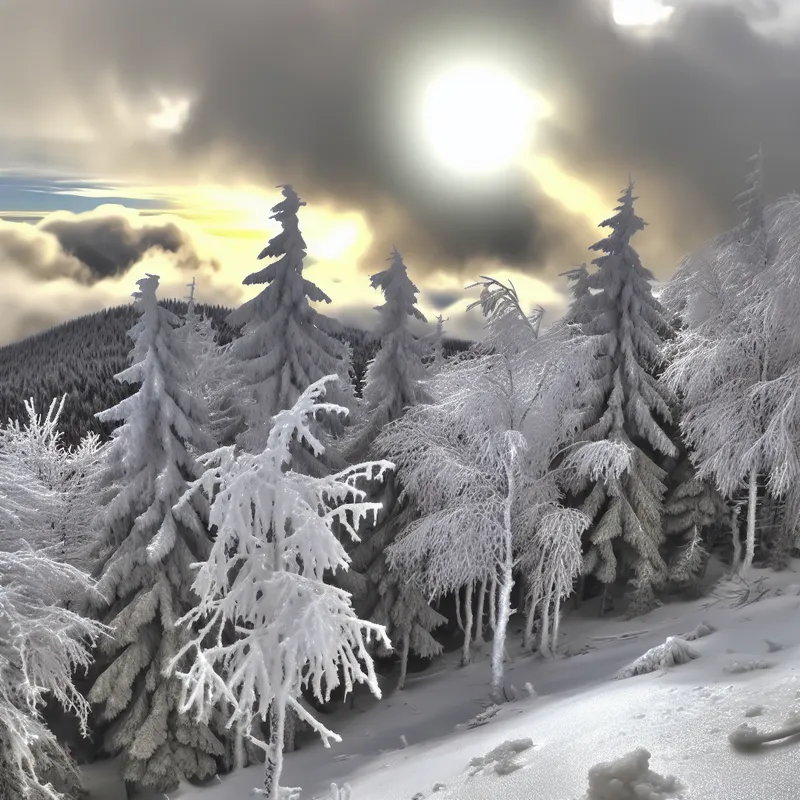
Here’s something I learned the hard way: Certain winter weather conditions—like fog, overcast skies, or late-day sunsets—can add natural warmth and drama to your photos without editing. If you’re shooting during golden hour (yes, there’s still golden hour in winter!), you’ll get softer shadows and prettier tones right out of the camera. Sometimes warming up your photos starts with being picky about when and where you shoot.
Practice Makes… Decent?
Learning how to fix cold photos taken in winter isn’t about getting it perfect every time. It’s about experimenting, figuring out what works for your particular style, and, honestly, learning as you go. I mean, my early attempts at editing winter photos were tragic—way too much saturation, awkward colors. The good news is, these days, I’m way better at it, and I actually like editing snowy photos now.
So don’t panic if your first few tweaks don’t look amazing. Give it another try, play with the sliders, and before you know it, you’ll be turning icy snapshots into winter wonderlands. It’s honestly so satisfying when you get it just right. Have fun with it and stay warm (both literally and photo-wise)!
What about you? Have you tried any tips or found a magic trick for fixing cold-looking photos? Let me know—I’m always up for learning something new!
