So, you’re staring at that slippery rooftop and the flexible solar panel that needs fixing, right? Been there, done that—or should I say, “survived” that? Let me tell you, figuring out how to fix a flexible solar panel on the roof wasn’t exactly what I thought I’d be doing on a sunny Saturday afternoon. But here we are, and you know what? It’s actually kind of fun once you get the hang of it.
Understanding the Problem
First things first, let’s get to why you might be grappling with this task in the first place. Maybe your solar panel isn’t sitting flush anymore. The wind, the rain, or even those mischievous neighborhood squirrels might have had a hand in it. Who knows, right? But the bottom line is, you’re not getting all those wonderful electrons flowing like they should. When I noticed my electricity bill creeping up, I knew something wasn’t quite right.
How to Fix Flexible Solar Panel on Roof
When it comes to the “how to fix flexible solar panel on roof” mantra, it really boils down to a few key steps. Let’s break it down together, shall we?
Step 1: Safety First
Okay, this isn’t just a cliché. It’s legit, folks. You want to make sure you’re not doing a balancing act on your rooftop without a buddy or proper safety gear. Think harnesses, sturdy ladder, non-slip work boots—you get the drift. I once almost took a tumble because I thought climbing my sloped roof with flip-flops was a good idea. Spoiler: It wasn’t.

Step 2: Assess the Situation
Now, do a preliminary check. Have a good look at the panel and its connections. Are the brackets loose? Did the adhesive pads give way? I found leaves crammed under one of mine, causing a slight lift-off. Who knew leaves could be so sneaky?
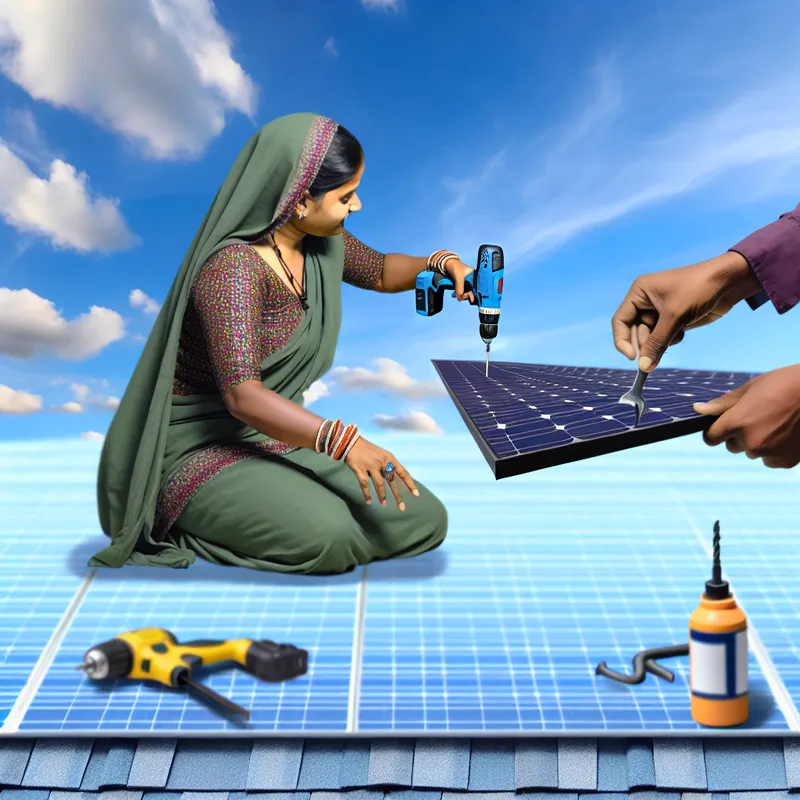
Step 3: Gather Your Tools
You’ll need some basic tools: a drill or screwdriver, a silicone adhesive or sealant (the outdoor kind, trust me), and maybe some replacement brackets or adhesive pads if the old ones look done-for. I remember thinking, “Do I really need all this stuff?” But believe me, having your tools handy makes all the difference. Plus, it’s a reason to buy more gadgets, and who doesn’t love that?

Step 4: Re-secure the Solar Panel
Here’s where the real magic happens. When fixing your flexible solar panel, ensure the surface is clean and dry. I made the mistake of trying to refit mine during a drizzle—yeah, not smart. Use your sealant sparingly to avoid gobs that can mess with the panel’s alignment. If you’re dealing with brackets, make sure they’re tightly fastened. Wiggle them a bit; you want zero movement. That’s how I knew mine were solid.

Step 5: Check the Connections
You know those wires and connections you hastily ignored earlier? Time to give them some love. Make sure everything is connected snugly. In my case, a slight misalignment was preventing the panels from capturing the sun optimally. Talk about a facepalm moment.
Step 6: Test It Out
After everything’s tightened and back in place, it’s time to bask in your achievement. But don’t uncork that celebratory drink just yet—make sure it’s all functioning as it should. Hook it up, check your inverter, and see if the panel is producing the expected power output. I remember my surprise when everything finally clicked into place, and suddenly I felt like a solar whiz.
Troubleshooting Common Issues
Now, maybe everything didn’t go as planned—that’s okay! Sometimes the panels just won’t cooperate. What about bad weather interfering with your work? Or the adhesive won’t stick properly? Been there. In those cases, it’s often worth consulting the manufacturer’s guide, or even chalking it up to experience and phoning a professional. No shame in that game; solar panels can be finicky beasts.
Wrapping Up My Solar Saga
So, that’s generally how to fix flexible solar panel on the roof. Not so terrifying, right? It took me a couple of tries, a few deep breaths, and maybe a few choice words muttered under my breath, but I got there. And chances are, so will you. It’s a rewarding experience—you’ll not only save some dollars but also get that warm fuzzy feeling of having tackled it head-on.
What do you think? Any crazy roof stories to share? Remember, fixing these panels isn’t just about the environment or your wallet—well, mostly it is—but it’s also about learning something new, one slip of the screwdriver at a time. Safe ‘paneling’ to you!