Oh boy, I remember when I first had to replace the HO2S sensor on my car. Let me tell you, it felt like the vehicle had a mind of its own and just didn’t want to cooperate. So, how long is to fix the HO2S sensor? That’s a question many of us DIY enthusiasts grapple with, right? I’ll try to break it down for you based on my own greasy-handed escapade.
How Long is to Fix the HO2S Sensor
First off, let’s set the stage. I’m no professional mechanic, but I’ve tinkered around the garage enough to know that the time it takes to fix the HO2S sensor can really vary. On a good day, when all the stars align and the car isn’t throwing a tantrum, it might take you about 30 to 60 minutes. But, you know how it goes—cars love surprises. And, if you’re anything like me, you might find yourself down there for a couple of hours.
What’s the HO2S Sensor Anyway?
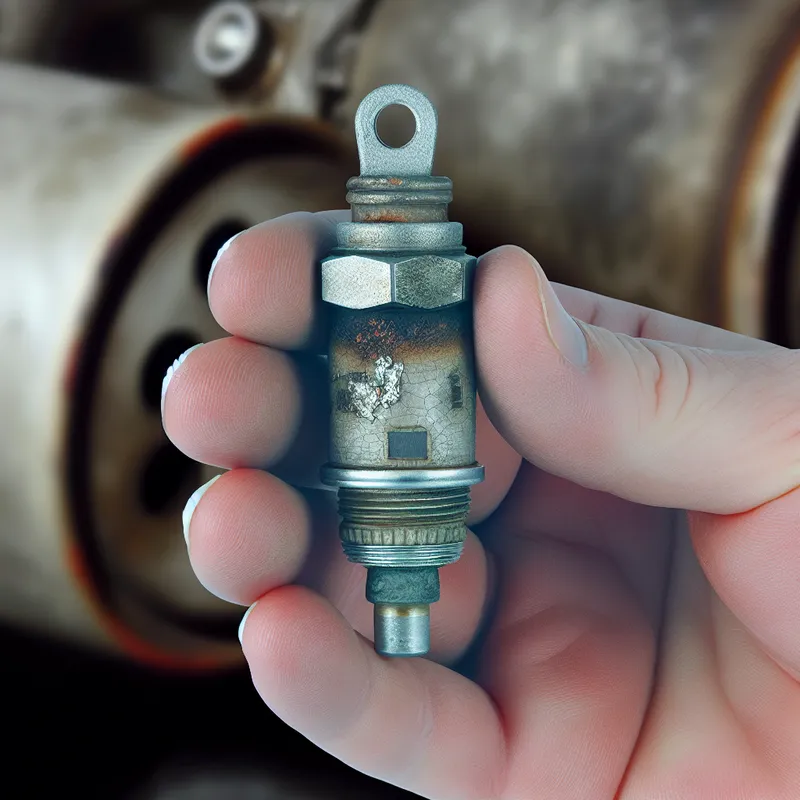
If you’re scratching your head wondering what the heck an HO2S sensor even is, you’re not alone. This handy little device, also known as a heated oxygen sensor, plays a crucial role in monitoring the air-to-fuel ratio in your vehicle’s exhaust. Basically, it helps your car run more efficiently and keeps the emissions in check. And trust me, when it goes bad, your car will let you know—usually with a bright, glaring check engine light that’s more annoying than memorable tunes stuck in your head.

Gathering Your Tools
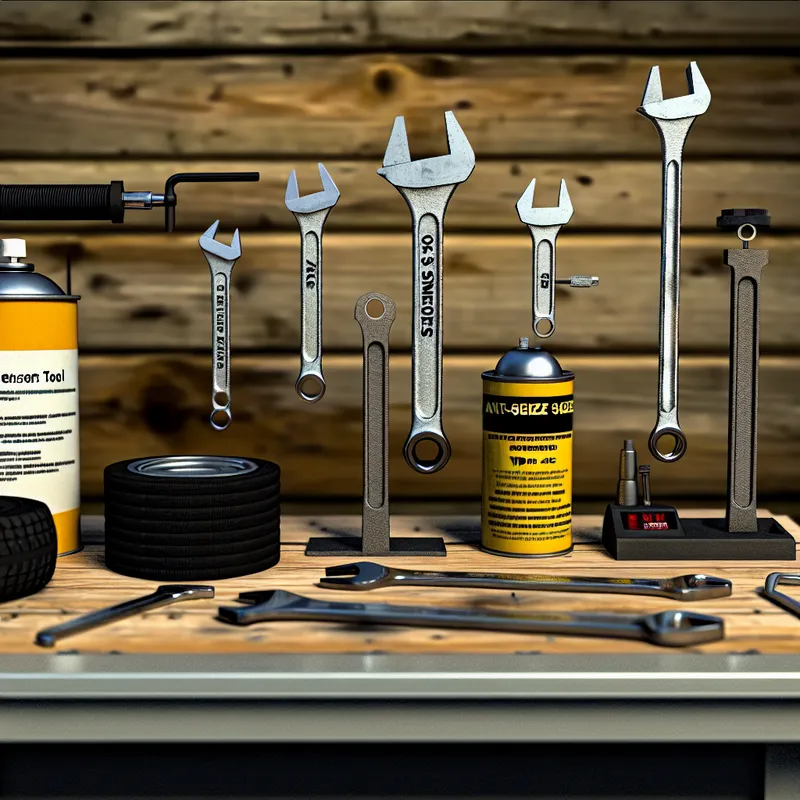
Before you get down and dirty, it’s essential to have the right tools on hand. You don’t want to be halfway through the process only to find out you’re missing that one critical wrench, trust me on this one. Here’s a list that’s saved my bacon more than once:
- A jack and jack stands (safety first, folks!)
- An O2 sensor removal tool (these things are lifesavers)
- A socket or adjustable wrench
- A little anti-seize compound (helps if you ever need to replace it again)
- Some good ol’ WD-40 or penetrating oil if it’s stubbornly stuck

Tackling the Sensor Replacement
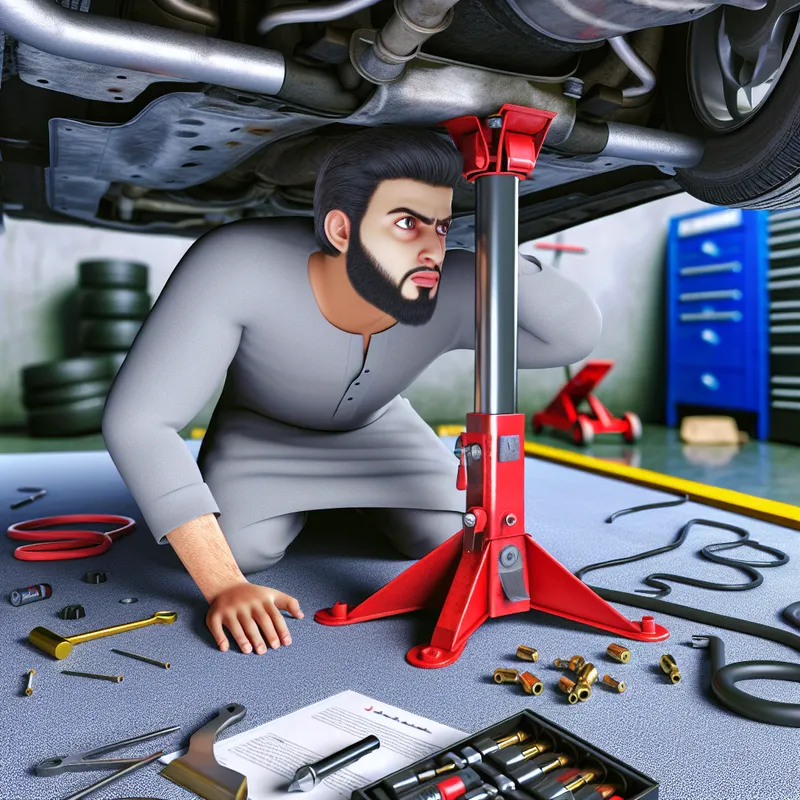
Start with the car in a safe, elevated position using jack stands. Do I even need to emphasize this? Safety is non-negotiable here. Once it’s up, you’ll want to locate the sensor. Now, it might be right there, staring at you, or you might have to do a bit of searching down near the exhaust manifold. Mine was wedged in a spot that had me contorted like a yoga pose gone wrong.

Once you’ve found it, disconnect the wiring. Here’s where things can get a bit tricky. If it’s seized because of all the heat cycles, don’t fret. Spray some penetrating oil on it, and let it sit for a bit. You might even find yourself engaging in a persuasive talk with the sensor, like I did.
Using the O2 sensor removal tool, gently coax it out. Have patience—don’t force it too hard. If I had a dime for every time I broke something from sheer impatience, well, I’d have a lot more car parts.
Installing the New Sensor
Now that you’ve successfully liberated the old sensor, grab your new one. Dab a little anti-seize compound on it, but keep it away from the sensor’s tip. You don’t want to start off your new sensor’s life with a handicap, right? Screw it in place, ensuring it’s snug but not over-tightened—think Goldilocks here, just right.
Reconnect the wiring harness, double-check everything, and lower your car back down. There’s always that moment of truth when I start the engine afterward. There’s a brief pause, a whisper of a prayer, and then… the relief when everything runs smoothly.
Expected Challenges
Sometimes, just when you think you’ve nailed it, things go awry. Maybe the check engine light stays on. Well, there might still be other sensors acting up, or maybe you just need to reset the computer. Have you ever accidentally pulled the wrong fuse or unplugged something you shouldn’t have? It happens to the best of us.
Trust and Verify
After everything seems purring well, take your car for a short drive. Remember when I said cars love surprises? Well, it’s best to ensure the issue doesn’t resurface right after you’ve packed all your tools away.
Reflecting on the Experience
Fixing the HO2S sensor can, at times, feel like you’re wrestling a bear with a socket wrench, but it’s rewarding. You save some bucks and get to boast about it to your friends later. Plus, it gives you a nice excuse to clean out the garage because let’s face it, it probably needs it after.
So, how long is to fix the HO2S sensor? It might not be quick’n’easy every time, but with a touch of persistence and a dash of humor, you’ll get the hang of it. Remember, each fix is a little adventure, adding to the ever-colorful tapestry of your mechanic memoirs. Happy wrenching!
