Oh no, a rip in a silk blanket? I’ve been there, and let me tell you—it’s one of those moments where you stare at it for way too long before deciding whether to cry, throw it out, or attempt some risky DIY magic. If you’re like me and can’t bear the thought of saying goodbye to something so soft and cozy, don’t stress—I’ll walk you through how to fix a silk blanket. It’s easier than you think, and with a little TLC (and patience!), you can make it look good as new—or at least pretty close.
How to Fix Silk Blanket Tears or Damage (Without Freaking Out)
Silk is beautiful, luxurious, and honestly? A little high-maintenance. It’s delicate, so anything from a snag to a tear feels monumental. But here’s the thing: silk doesn’t have to be scary to repair as long as you approach it with care and the right tools. I promise, by the end of this, you’ll feel like a fabric whisperer. So, let’s dive into some practical steps and tips to fix that ripped or damaged silk blanket.
Prepping For the Repair: What You’ll Need
First, let’s talk about preparation—it might sound boring, but it’s super important. Picture this: I once tried fixing my favorite silk sheet in a half-lit room with no plan, and long story short, I made things worse. Don’t make my mistake. Take a deep breath, grab what you need, and set yourself up for success.
Here’s what I’d recommend gathering:
- Fine thread in a matching color: Silk thread works best, but polyester in a pinch isn’t the end of the world. Just get the color as close as possible.
- A sewing needle: Use a fine, sharp needle—those big chunky ones will snag the fabric.
- Fabric glue: Only if sewing isn’t your thing or the tear isn’t along a seam. Make sure it’s suitable for delicate fabrics.
- Pins: These will help hold things in place while you work.
- An iron: You’ll want to smooth everything out before starting (on the lowest setting!).
- Patience: Trust me, you’ll need it.

Step-by-Step Guide to Fixing Small Tears
Let’s start with the most common issue: a small tear or hole. Maybe you snagged the blanket on something sharp, or your pet decided it needed some “character.” Either way, this is fixable with some needle-and-thread action. Don’t worry—it’s way simpler than it sounds.
-
Flatten the Fabric
First, lay the silk blanket on a flat surface (preferably a big table) and smooth it out gently. If the fabric is wrinkled, use an iron on the “silk” setting to press it flat—but keep a pressing cloth in between the iron and the silk. You don’t want to accidentally scorch your blanket. Been there, done that. -
Secure the Edges of the Tear
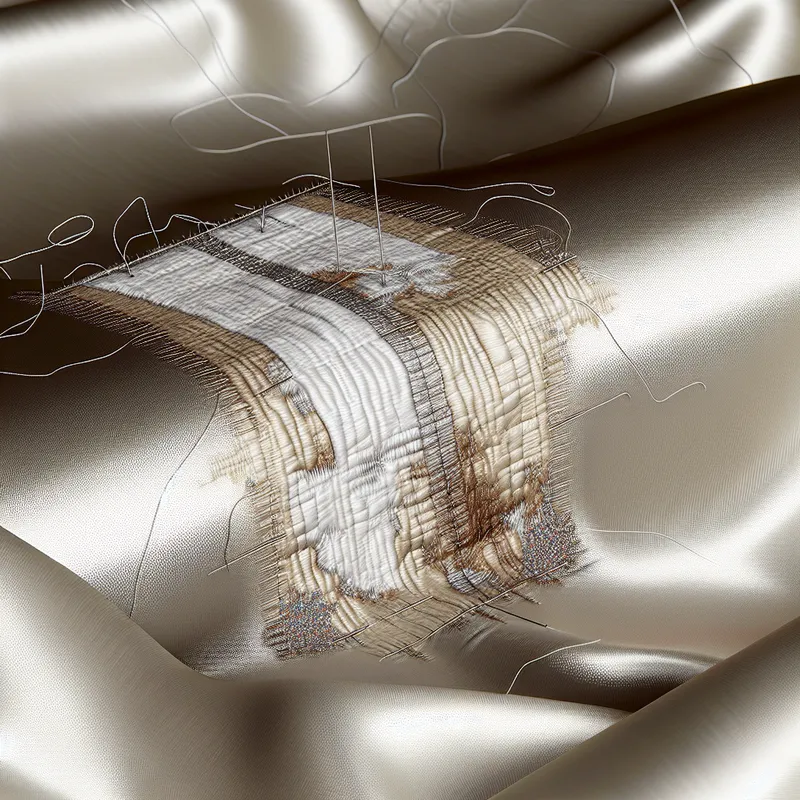
Here’s an important tip: silk frays like nobody’s business. I like to use tiny pins to secure the edges of the tear so it doesn’t grow while I’m working on it. If you don’t have pins, you could even use a bit of tape (but be careful not to leave residue). Oh, and don’t pull the fabric too tight—just enough to hold it smooth. -
Start Stitching
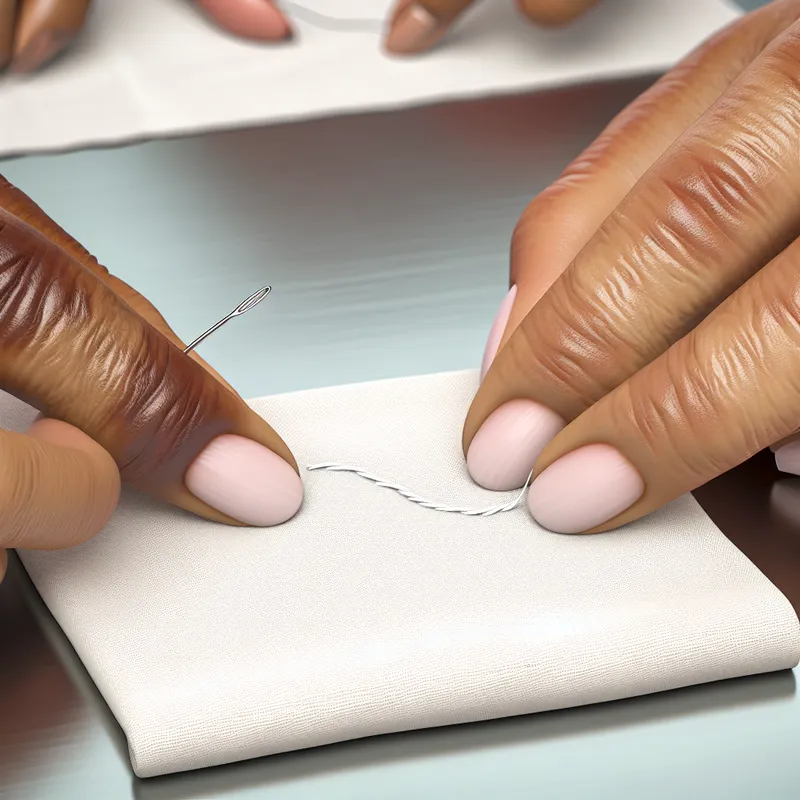
Thread your needle and tie a small, secure knot. Use a ladder stitch (or invisible stitch) to bring the edges of the tear together. This is the part where patience comes into play. Small, even stitches will go a long way toward making the repair less noticeable. If you’re not familiar with the stitch, imagine weaving your needle in and out from side to side, like you’re creating mini rungs on a ladder. YouTube has some great tutorials if you’re more of a visual learner!And hey, if you’re not a “sewing” person, no judgment here—give fabric glue a try. Dab a tiny bit of glue along one edge of the tear, overlap the other edge, and press them together for a few seconds. It won’t be perfect, but it’ll hold.
-
Tie Off and Finish
When you’ve stitched (or glued) the entire tear, tie off the thread securely or let the glue dry completely. Trim any stray thread ends. If you stitched, give the repaired area a light press with the iron again to flatten everything neatly.

What About Bigger Tears?
For larger rips, I’ve found that adding a patch is your best bet. I know, the word “patch” doesn’t sound very chic, but if done carefully, it can look polished and even intentional.
-
Choose a Patch Material
Ideally, use a scrap of silk that matches your blanket. If you don’t have extra fabric lying around, try cutting a piece from an inconspicuous area of the blanket (like the side that folds under your duvet). Desperate times, right? -
Cut and Secure the Patch
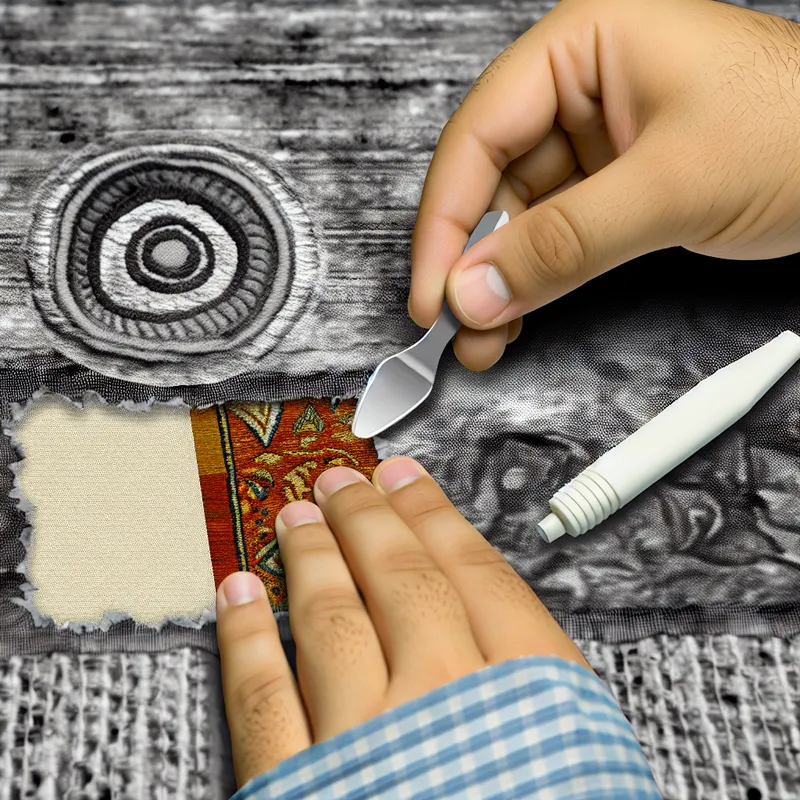
Cut the patch slightly larger than the damaged area so it covers the tear entirely. Use fabric glue to secure the patch to the underside of the blanket, making sure the edges are smooth. You can also sew the patch in place with a whipstitch for extra durability. It’s not invisible, but hey, it’s durable!

