Oh man, isn’t it frustrating when your shower handle is sticking out too far, awkwardly staring back at you each time you step into the bathroom? Trust me, I’ve been there, and I get how annoying it can be. The good news is, fixing this is totally doable, even if you’re new to DIY. Let’s walk through the steps together, and I’ll sprinkle in some of my own battle stories along the way.
What’s the Deal with Shower Handles?
First things first, what’s up with a shower handle sticking out too far? Usually, it’s a case of the shower valve inside the wall not being set at the correct depth. It happens more than you’d think, especially in older houses or during a too-quick renovation.

Let’s Tackle the Problem: Shower Handle Sticking Out Too Far How to Fix
Alright, so how do you fix it? You might be thinking, “Do I need to call a plumber for this?” While it’s an option, let’s dive into a DIY fix to save a few bucks—and the pride of having done it yourself.
Step 1: Get to Know Your Shower
Before you start, you really want to understand the shower handle setup. Different brands and models have unique components. If you’ve still got the manual, dig it up. No manual? You might find it online.
You know those days where everything seems to be misplaced? Yeah, it was one of those for me, hunting for the manual. It turns out, occupying space in the “everything drawer” was a whole series of manuals I didn’t even know I had!
Step 2: Shut Off the Water
Safety first—always turn off the water supply. There should be a valve near your water heater or main water line. Imagine the chaos if water just starts gushing out mid-fix—ask me how I know!
Step 3: Remove the Handle
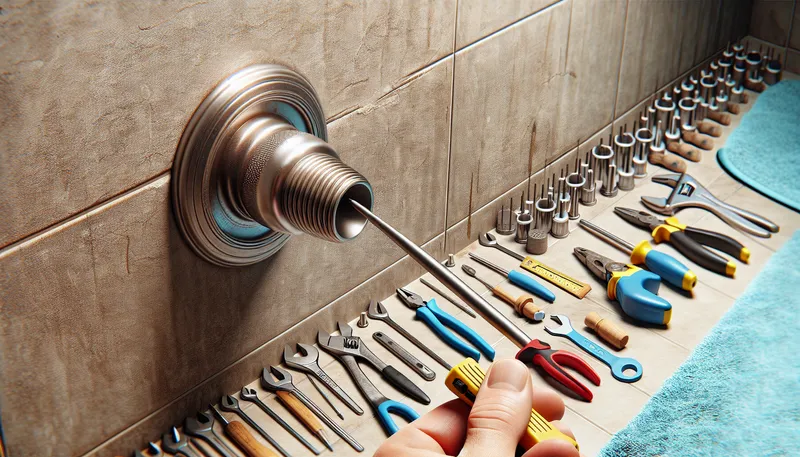
Here’s where the fun begins. Use a screwdriver to remove the handle. You might need a bit more elbow grease than expected, or maybe even a squirt of lubricant spray. The water build-up over time can get these components quite fond of sticking around.

Funny story, I once spent half an hour fretting about a screw, only to realize I was turning it the wrong way. Classic!
Step 4: Inspect the Handle Setup
Once you’ve got the handle off, take a good look—or even a picture—to familiarize yourself with the guts of the operation. Sometimes, the valve might just need a slight adjustment inward.
Step 5: Adjust the Valve or Use a Spacer
Now, this is where things vary based on what you’re working with. If the valve is adjustable, move it back a smidge. If not, or if it’s too risky for your taste (I had a “moment” once where everything felt it might crumble), consider adding a spacer or a new escutcheon plate to bridge the gap. It’s all about creating that snug fit.

Step 6: Reassemble Everything
Time to put it all back together! Attach the handle back on, making sure everything lines up. Test it out before you go putting the screwdriver away.
Remember that moment in cartoons when characters try to fix something and a spring pops out? No worries like that here if you’ve muscled through the photos and labeling.
Final Testing and Extra Tips
Once it’s all set up, turn the water back on and give the shower handle a test drive. If it’s working smoothly, you’re all set! If not, don’t worry. Sometimes a couple of tweaks are needed. That’s just how projects roll.
Oh, and a little tip—from experience, use silicone sealant sparingly to waterproof the escutcheon plate area. Once, I went a little overboard and it turned into a slippery mess. So, less is indeed more here!
Troubleshooting Common Issues
-
Handle Moves Too Freely: Double-check the screw tightness. It’s amazing what a loose screw can do (isn’t that right in life too?).
-
Leaking Water: If there’s a leak, it might involve the valve cartridge—a trickier business but doable with a little guidance.
Wrapping it Up
Hopefully, you’ve successfully tackled the mystery of a shower handle sticking out too far. Next time you hop into your shower, give yourself a mental high-five for a job well done. There’s something incredibly rewarding about rolling up your sleeves and solving a problem that seemed daunting at first.
Remember, DIY victories, like this one, don’t just save you money—though, let’s be honest, budget-friendly fixes are always a plus. They also give you that sense of “I did this.” Plus, it’s a nice notch to have in your belt of home-improvement skills. Soon, you’ll be eyeing other small renovations with that “I got this” confidence. What do you think? Ready to tackle your next project?