So, you’re here because you’re dealing with the headache of a clogged VAV heating coil in your HVAC system, right? Ah, I feel you. I’ve tackled this beast more times than I’d like to admit. It’s one of those things that can really throw a wrench in your day (and your heating, for that matter). But don’t worry—we’ll go through this together, and you’ll have your system running smoothly in no time.
Why is My VAV Heating Coil Clogged?
Before getting into the nitty-gritty of how to fix clogged VAV heating coil HVAC systems, let’s talk about why it happens. Picture this: over time, dust, debris, and rust build up in those coils. It’s inevitable, like that one drawer you have that’s full of random stuff you swear you’ll organize one day. Next thing you know, your airflow is reduced, the efficiency of your system plummets, and you’re left in the cold—literally. You might also notice strange noises or fluctuating temperatures, which are tell-tale signs of clogs.

Gathering Your Tools
Alright, so you’re ready to tackle this guy head-on. It’s kind of like preparing for a mini-renovation in your HVAC unit. Here’s what you might need:
- Screwdriver set (because every fix-it job requires one).
- Soft bristle brush and vacuum cleaner.
- Coil cleaner solution.
- Protective gloves and safety goggles (safety first, right?).
Got everything? Great! Now, let’s roll up our sleeves and get to it.

Disconnecting the Power
First up, a crucial step that’s easy to overlook. I don’t know about you, but I’ve heard too many horror stories about DIY enthusiasts getting zapped because they forgot this step. So, make sure you disconnect the power to your HVAC unit. Flip that switch on the breaker box, and you’re golden.
Accessing the Coil
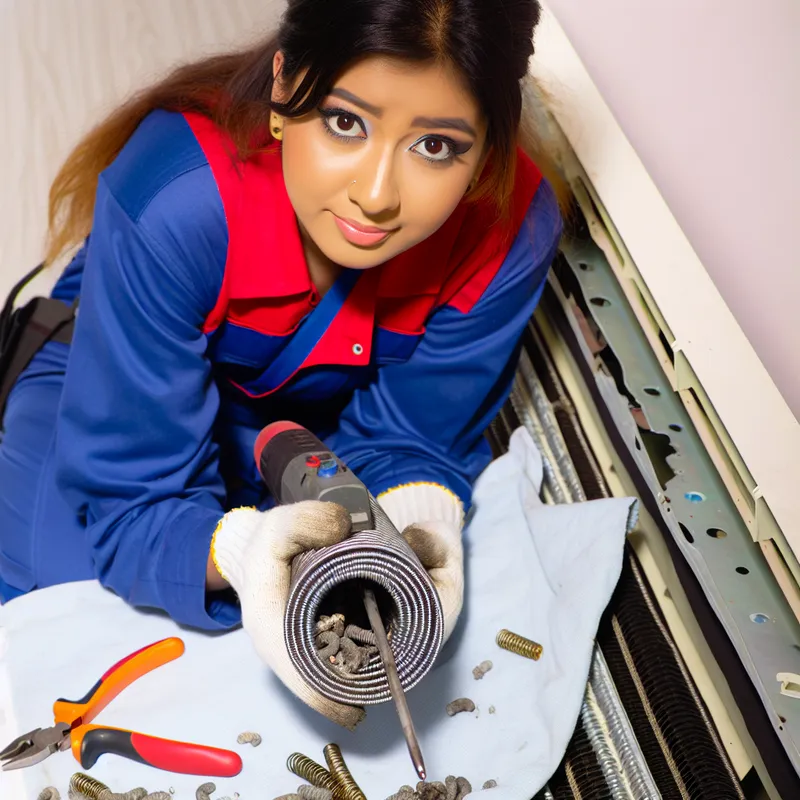
Now, getting to the coil isn’t always as straightforward as it sounds. Depending on your system, you might need to remove a few panels (hello, screwdriver!). It’s like solving a puzzle, but instead of a picture of a scenic landscape, you’re rewarded with the dusty sight of your coil. Once you’ve got the panel off, you’ll see the coil, eager to be cleaned.
Cleaning the Coil
Here’s where the magic—or rather, the elbow grease—happens. Use the soft bristle brush to gently remove dust and debris. A shop vac comes in handy here too. Vacuum up any loose dirt. Just think of it as giving your coil a much-needed spa day.
Next, apply a coil cleaner. I’ve heard folks swear by all sorts of solutions, but a specialized coil-cleaning solution is your best bet. Follow the instructions on the cleaner (trust me, they put those there for a reason). It might involve letting the solution sit for a while, so maybe grab a coffee, do a little victory dance—whatever floats your boat.
Rinse and Repeat
After the solution has done its work, rinsing is key. Make sure the area is well-ventilated and you’ve got all the gunk off the coil. Sometimes, water and a clean cloth are all you need to do the trick.
Checking Everything’s Good
Now, before you put everything back together, take another look at the coil. Does it look clean and shiny? If there are stubborn spots, a little extra scrubbing might be necessary. It’s like dealing with a pesky stain on your favorite shirt—sometimes persistence pays off.
Once you’re satisfied, you can reassemble the panels you removed. Give yourself a pat on the back—you’re practically a coil-cleaning pro at this point!

Reconnecting the Power
Almost there! Flip that breaker switch back on and stand back for a moment. Check if everything powers up smoothly. You might find yourself holding your breath a little—totally normal!
Testing the System
Now comes the ultimate test: turning on the system to see if your hard work paid off. Set your thermostat and let it run for a bit. Are you feeling that sweet, sweet heat? If things seem to be running without a hitch, congratulations! You’ve just tackled one of those sneaky issues that can give homeowners sleepless nights.
Maintenance Tips to Keep Things Smooth
Once you’ve declogged your VAV heating coil, it’s like having a fresh start. But to keep things running optimally, regular maintenance is key. Schedule periodic cleanings and pay attention to your filters—you don’t want them to become mini clutter collectors. Also, check the rest of your HVAC system now and then for any signs of trouble. Proactivity is the name of the game here.
Reflective Wrap-Up
Tackling how to fix clogged VAV heating coil HVAC systems isn’t just about fixing a problem. It’s a bit of a journey, marked by moments of frustration and victory. But oh, the satisfaction of a well-done job—there’s nothing quite like it. And hey, with the money and hassle saved, what’s not to love? You’ve added another skill to your repertoire, and your HVAC is ready to cozy you up in style. So here’s to you—may your coils stay clog-free and your days comfortably warm!