So, you’ve got your Geek Bar, and it’s playing a symphony of unwanted buzzing in your pocket, thanks to an auto-fire issue? Trust me, I’ve been there, and it’s not the kind of excitement we’re looking for in a vaping device, right? You’re probably wondering how to fix geekbar auto fire, and you’re in the right place. Once, while hanging out with friends, my Geek Bar decided to turn on by itself—pretty startling during an otherwise chill evening. That’s when I rolled up my sleeves and decided to get to the bottom of this.
You know, when it comes to fixing issues like this, it’s not about being a tech wizard or some sort of vape whisperer (although that would be cool). It’s more about a bit of know-how and the willingness to give it a shot. So, let’s dive into how to fix geek bar auto firing, and hopefully, we can have your device behaving like it’s supposed to in no time.
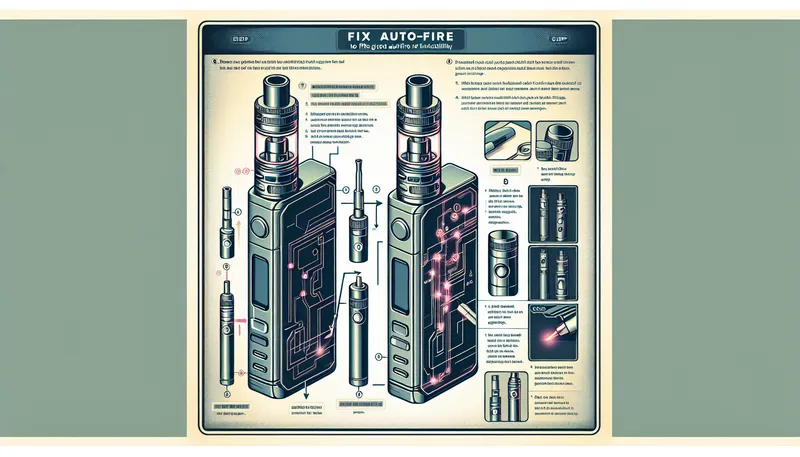
Step 1: Safety First
Okay, before we start poking around, let’s make sure you’re doing this safely. Auto-firing can drain the battery super quickly or even cause the device to overheat, so the first thing—you guessed it—is to turn off your device. If your Geek Bar doesn’t have an off switch (some models don’t), you can just remove the battery if it’s possible. If it’s a disposable one, just set it down somewhere safe and let it run dry until it stops.

Step 2: Cleaning Is Key
Have you ever noticed how grime has an uncanny ability to get into every nook and cranny? It’s like it has a personal vendetta against cleanliness. Grab a cotton swab or a small, soft brush, and gently clean the connections. These little buggers can sometimes be a cause when your device decides it has a mind of its own. Make sure the metallic contact points are shiny and free from any e-liquid residue. Who knew that tidying up could sometimes solve the mystery of how to fix geekbar auto fire?

Step 3: Inspect the Buttons
Ah, buttons—they either work perfectly or throw shade by doing whatever they please. Check if your firing button is sticking. Sometimes, accumulated dust or a slight misalignment might cause it to get jammed, creating a false contact and leading to auto-firing. If needed, you can gently pop it out and clean around it. You might even use a toothpick to scrape out any stubborn dirt. Just be gentle; we’re fixing, not breaking things more, you know what I mean?

Step 4: Take a Look Inside (If You Can)
If you’re comfortable with taking things apart and your device allows, unscrew the external casing to have a peek inside. This gives you a chance to inspect for any wiring issues. Sometimes, a wire might be loose and create an internal short circuit. I know, tiny circuits aren’t exactly everyone’s friend, but taking a good look might surprise you. Just make sure you’re not voiding any warranties by doing this. Honestly, nobody wants to deal with warranty drama along with a faulty gadget!
Step 5: Test with a New Battery
If your Geek Bar has a replaceable battery, try swapping it out with a fresh one. This can sometimes reset any quirky behavior if the battery is struggling to keep a stable output. Sure, your device says it’s low-maintenance, but every now and then, a fresh power source can do wonders.
Step 6: The Manufacturer’s Help
Okay, we’re doing everything but jumping through hoops, and if that doesn’t fix it, reaching out to the manufacturer or the store you bought it from can be a solid plan. They might offer a replacement or additional support. I mean, customer support can be a hit or miss, but it’s worth a shot. They probably know more about these products than the rest of us combined!
Step 7: Consider a Different Device
Sometimes, after all the tinkering and troubleshooting in the world, some devices might just have production issues. If your Geek Bar is persistently troublesome, you might want to consider upgrading—or downgrading, depending on how you’re feeling—your vaping device. In the long run, investing in a reliable device can save you a lot of headaches.
I hope this guide on how to fix geekbar auto fire has given you a clear pathway to a solution, or at least some good stories for your next vape circle. There’s something incredibly rewarding about working through a problem like this and coming out on the other side with a smoothly functioning device, right? Plus, you get to pocket the bragging rights of being the person who tamed the auto-fire beast. Happy vaping, and may your device stay as chill as you!