Oh man, I totally get it—you’re staring at your favorite bag, and it’s looking a little… worse for wear. Maybe the zipper’s gone rogue, the leather has seen better days, or there’s some mystery stain you can’t explain (guilty as charged). I remember the first time I had to figure out how to fix my bags. I was tempted to chuck it and replace it, but I just wasn’t ready to say goodbye. Plus—why pay for a new one when you can revive the trusty friend you already have, right?
Where Do We Start?
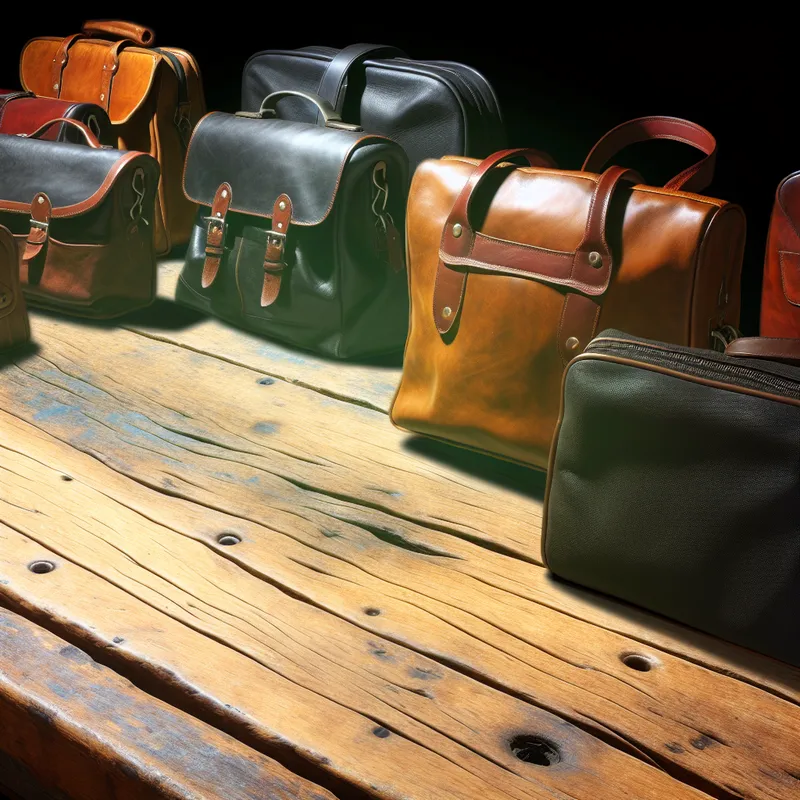
First things first, what exactly are we dealing with here? Bags have a lot going on—zippers, straps, fabric, leather, foam inserts, buckles—so understanding the issue is half the battle. Is it cosmetic, like some scratches or loose stitching? Or is it functional, like a broken clasp or that dreaded “zipper won’t close” situation? I’ve been through both kinds, and trust me, each one comes with its own set of hurdles—but nothing that can’t be fixed.
How to Fix My Bags: Tackle Surface Damage First
Alright, let’s talk about those surface-level issues. You know, the scratches, stains, or just general signs of wear and tear. Most of us don’t even realize how much wear our bags take until that one day when it’s just ugh. Here’s what worked for me:
1. Leather Bags: Scratches and Scuffs
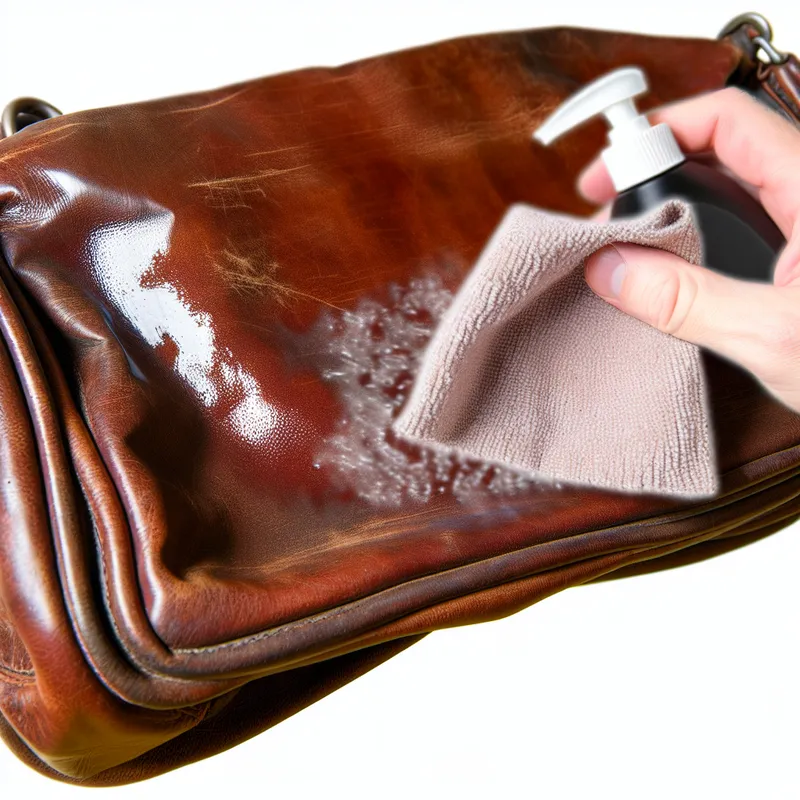
I’ve had my share of “oh no” moments with leather bags—like accidentally dragging them against a wall. But here’s the deal: scratches on leather aren’t the end of the world. I’ve found that a good leather conditioner works wonders. Just rub a little on with a microfiber cloth (don’t overdo it—it’s not pizza sauce), and those small scratches seem to magically disappear. For deeper scratches, leather repair cream was my lifesaver. It’s not perfect, but it got me through.

Oh, and if you don’t have any leather conditioner on hand, some people swear by olive oil as a quick fix. I’ve tried it once—it kinda works, but test it in a hidden spot first, just in case your bag decides to rebel.
2. Fabric or Canvas Bags: Cleaning Stains
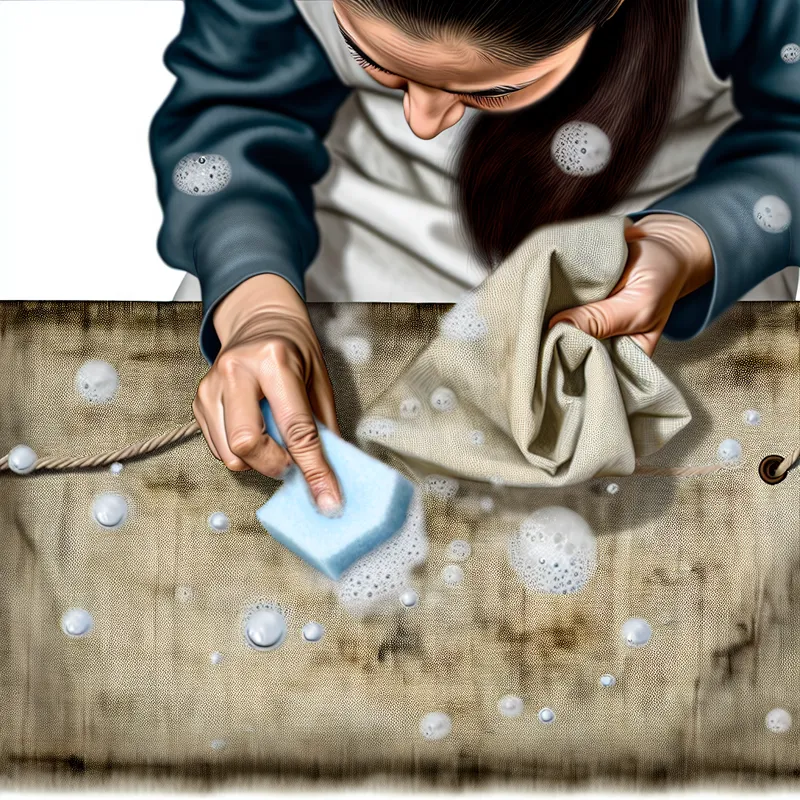
I don’t know how I manage to spill everything on my bags, but here we are. For fabric or canvas bags, I’ve had luck with a mix of mild soap and warm water. Just dab (don’t rub, unless you’re channeling your inner Picasso) with a clean cloth. For really stubborn stains, a fabric cleaner or OxiClean can save the day. Just don’t saturate the material—moisture is the enemy.

Fixing Functional Issues: Because We Need Our Bags to Actually Work
This is where things can get a bit tricky, but don’t freak out. Whether it’s a broken strap or a zipper revolt, there’s usually a DIY fix that can save you some cash.
1. Oh, That Strap Snap
Ever had a strap give out mid-commute? Not fun. Been there. If it’s a clean break, you might be able to stitch it back. Needle, thread, and some patience—plus a thimble if you have one (seriously, those things are lifesavers). Make sure to use thread that’s thick and strong, like upholstery thread, so your strap doesn’t fail again.
For leather straps, I’ve had luck with leather glue. I was skeptical at first—like, glue? Really?—but it’s surprisingly effective! Just clamp it together as it dries. You won’t be swinging the bag around wildly anytime soon, but it’ll get you by.
2. Zippers on the Loose
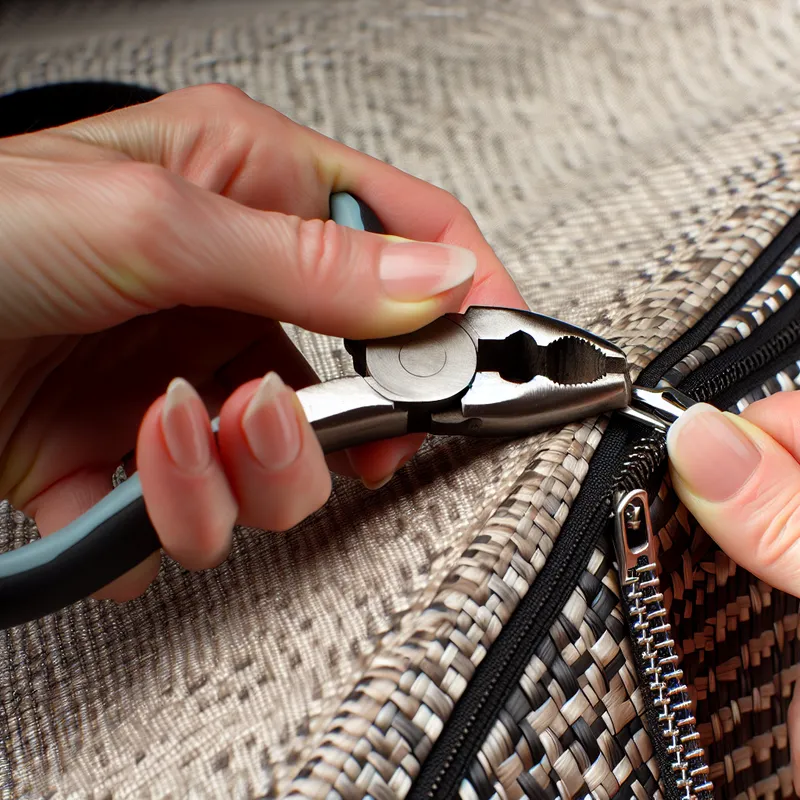
Broken zippers are, hands down, the most frustrating. If the zipper teeth aren’t aligning, try some pliers (gently!) to squeeze the slider tighter—it’s worked for me more times than I can count. If the zipper pull itself is gone, grab a paperclip or a keyring as a temporary fix. Not glamorous, but effective.

If the zipper’s totally shot? You might need a replacement. I’ll level with you—I’ve tried this myself, but if you’re not comfortable with sewing, this is one thing you might want to call in a pro for. It’s not crazy expensive, and it’ll save you the headache.
How to Fix My Bags: Polish, Protect, and Love
Once you’ve patched up the major issues, the key is maintenance—it’s always easier to prevent damage than to fix it after the fact. Here’s what I’ve learned the hard way:
- Leather Bags? Condition Them Regularly. It takes, like, five minutes, and it keeps the material supple and resistant to cracking.
- Don’t Overload Your Bag. I’m guilty of packing mine like I’m moving out forever, but too much weight wreaks havoc on straps and seams.
- Store Bags Properly. Use those dust covers that come with them (you know, the ones we all usually lose), or keep them in a breathable cotton pillowcase. Trust me, it helps prevent mildew and deformation.
Have You Tried These Quick Fixes?
For smaller issues, there are little DIY hacks you can try:
- Loose stitching? A needle and thread can be your best friend.
- Scratches on plastic? Try a dab of toothpaste—it’s surprisingly good at smoothing surfaces. (Weird, right?)
- Smelly bag? Sprinkle a little baking soda inside and let it sit overnight. Works like a charm.
The Emotional Side of Fixing Your Bags
You know, there’s something oddly satisfying about repairing your own stuff. It’s not just about saving money (though, honestly, that’s a huge bonus)—it’s about breathing new life into something that’s been with you for years. I’ve fixed bags that, realistically, I could’ve replaced, but I’d already created all these memories with them. Plus, it’s way better for the environment than just tossing your old ones out.
So… what do you think? Does any of this sound doable? If you’ve got a specific issue I didn’t tackle, let me know—I’ve probably run into it and might have an idea. Seriously, fixing your bags is one of those things that feels intimidating at first, but once you dive in, it’s super rewarding. Good luck!
